If you want to separate your podcast from the masses, the easiest way to do so is by producing high-quality audio. However, it can be challenging to do high-quality podcasting on a budget.
So I want to present two options for your podcast setup that’ll save you money in the long run and help you produce a superior level of sound quality. Specifically, I’m going to address your microphone selection and remote recording software options.
These are equipment and service options that will grow with your podcast, which has been a point of emphasis for my clients.
My target is $500 total.
Microphones
The microphone is the most critical component of your podcasting setup. A good microphone will help ensure a professional, clean sound. That’s important because capturing clean audio reduces the need for edits in post-production.
However, good microphones can also be incredibly expensive. The industry favorite is the Shure SM7B, which you can find in radio stations and is used by many professional podcasters.
It costs $400.
And that’s just for one.
That can be cost-prohibitive for new podcasters. It’s also an XLR-output microphone, which means it needs an audio interface or mixer to go along with it. That won’t work for podcasters on a budget.
That leaves USB microphones for podcasters, which are essentially plug-and-play. There are many good USB microphones, but I want to ensure that you capture the highest quality audio without much thought or tinkering.
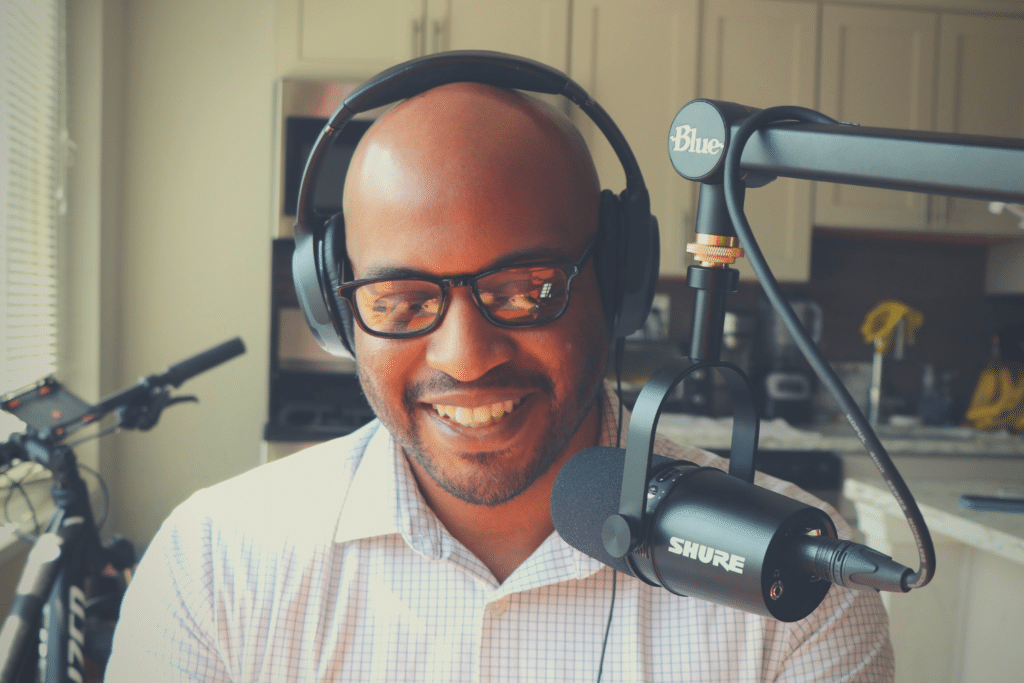
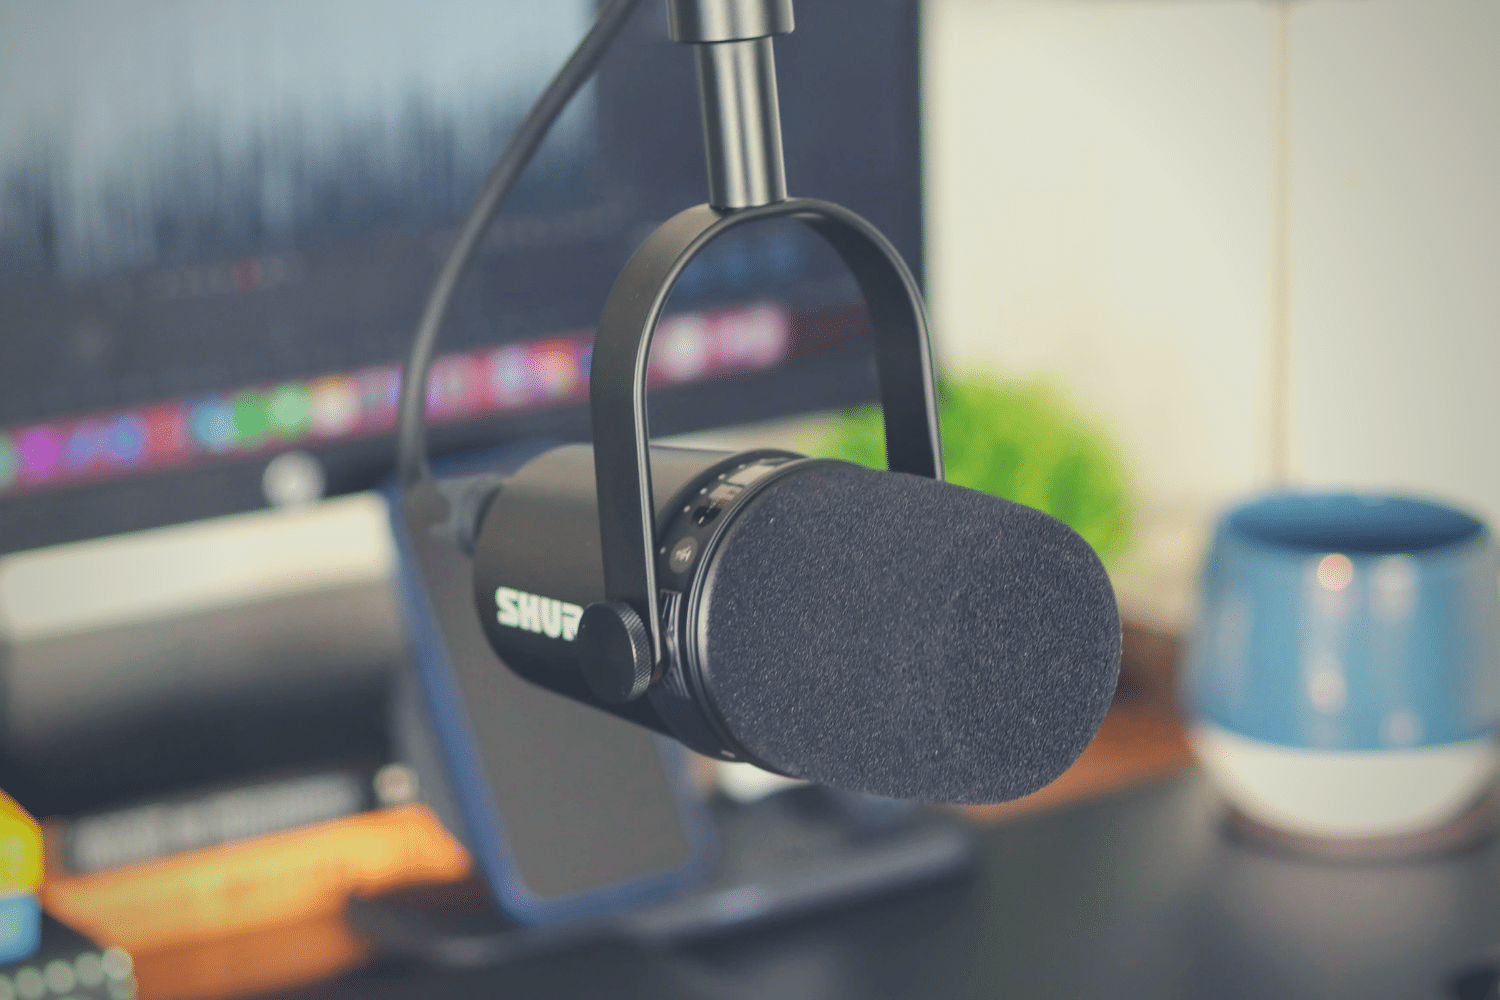
Solo podcasters who want a similar high-quality sound as the SM7B don’t have to pay nearly as much for Shure’s MV7, which is $249. That’s the microphone I’m using and what I suggest for high-quality podcasting.

The MV7 is a dynamic microphone with both USB and XLR output, so beginners and those transitioning to more expansive setups can use it.
You can get the MV7, along with a desktop stand, for $265 regularly. (I see it’s currently on sale for $259.) It also comes with some free software to tweak the microphone’s sound settings when using USB output.
Many podcasters use (and love!) Blue Yeti microphones. I have one as well — the Blue Yeti X. Let me demonstrate to you the difference between the two with this clip.
The Blue Yeti X costs $169 and performs like a champ for most. But for me, the MV7 has a clear advantage with its rich tone. I can get that sound without manipulating the audio in my recording software.
If you’re really on a budget and neither of these options work for you, try RØDE’s NT-USB mini microphone. It costs $99 and is one of the top budget microphones on the market.
Other equipment
A pop filter helps decrease the impact of plosives, or vocal pops, on your audio. Plosives are the rush of air that leaves your mouth when you use words with P or B in them, and they’re unsettling for listeners. It also helps prevent long-term damage to your microphone from the moisture that naturally comes from speaking.
Even with a good microphone like the MV7, it’s helpful to have a pop filter to ensure you’re capturing clean audio.
And pop filters are cheap. I have the Auray PFNY-6, which also pairs nicely with the Shure MV7. It’s $18.99. That’s a small price to pay for boosting sound quality.
Remote recording software
You can use video conferencing tools like Zoom, Skype, or Google Meet to record remote interviews. Often, podcasters are frustrated by the quality of the recordings on these tools that are unrelated to the service. Most quick fixes include having a quality microphone, using headphones, and a stable internet connection.
(Please note: Skype recording is free, a Zoom license can cost $150 a year, and only some Google Workspace business users can record calls.)
I strongly recommend that you only interview people who have access to a microphone or headphones. Preferably both. Most people have access to the latter. Your guest should also be located in a quiet place.
However, even in good conditions, these platforms are not immune from digital distortion.
Of course, there are alternatives to boost the quality of remote audio. Video podcasting platforms Iris, Riverside FM, SquadCast, and Zencastr all record in high-definition audio locally (on your guest’s computer) and upload it to the cloud. This feature allows podcasters to bypass sputtering internet connections and achieve a sound quality that is closer to what you might get from recording in person. (That still depends on your guest’s recording conditions and microphone.)
The cost of the basic plans for these services ranges from $7.50 to $20 a month. Your cheapest bet is Riverside.
The benefit of using one of these services is that your audio tracks are recorded separately and as lossless WAV files. Depending on the service you pick, you can have between 2 and 9 guests. In the case of Zencastr, you can do live editing within the platform, which can almost eliminate the need for a digital audio workstation entirely.

Summary
High-quality podcasting requires the right conditions and equipment. It’s hard to do that on a budget. However, there are plenty of hacks. The Shure MV7 is not the cheapest USB/XLR microphone, but it sounds great and gets you closest to the industry standard (the SM7B) without the need for learning every trick in an audio producer’s playbook. It also won’t break the bank.
Adding a remote podcasting service like Iris, Squadcast, Riverside, or Zencastr helps you solve a chronic problem for recording over the internet by ensuring quality recordings happen locally. Also, as video services, they help promote your show and can grow with you as you develop your podcast.
Altogether, the Shure MV7, a pop filter, and remote recording software will cost you between $358 and $520 for the year, without taxes.
That’s cheaper than most professional podcasting setups and will distinguish you as someone who produces a high-quality podcast.
I hope this was helpful for you, but if you have any questions or need help with your podcast, check out my podcast development service. I also offer audio production services.

